Physical Address
304 North Cardinal St.
Dorchester Center, MA 02124
Physical Address
304 North Cardinal St.
Dorchester Center, MA 02124

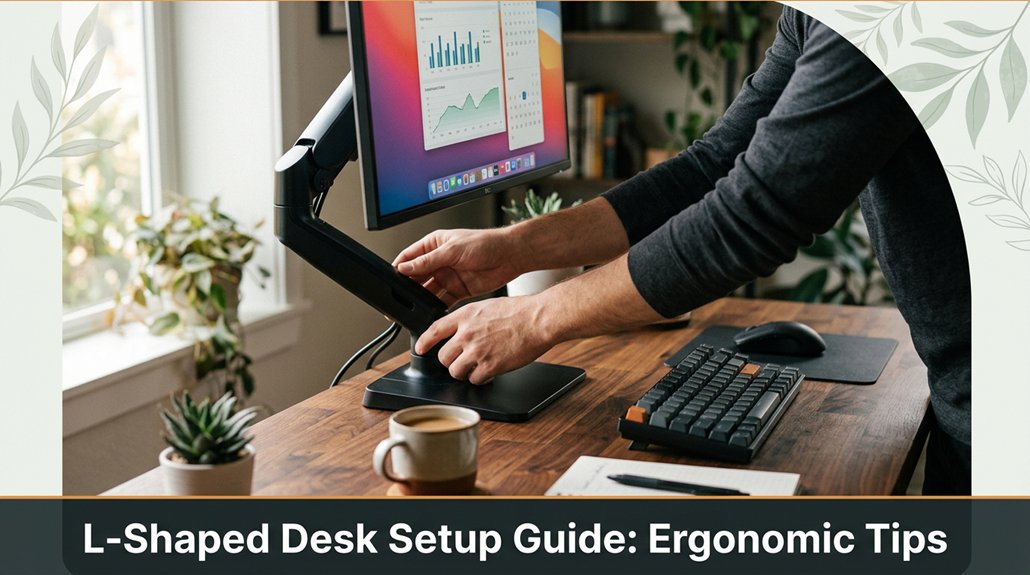
Your L-shaped desk setup can make or break your comfort during long work hours. If your neck or back are already protesting, then fixing your monitor height and position should be your first priority. Keep your keyboard and mouse close, maintaining elbows at 90 degrees and wrists neutral your body will thank you. Make sure your chair height keeps your feet flat on the ground, and don’t forget to get up and move around regularly. Stick with me, and I’ll show you how to avoid common mistakes and create a setup that lasts.
This article contains affiliate links. If you purchase through them, I may earn a small commission at no extra cost to you. I only recommend products I genuinely believe in.
Setting up your L-shaped desk for maximum comfort isn’t just about positioning everything randomly and hoping it works out. I’m sure you’ve spent 45 minutes into assembly when you realize that step 4 assumed something that step 2 never explained.
Start by positioning your desk so it fits well in your space because proper placement ensures you’re not cramped or overly stretched. Use ergonomic tips for L-shaped desks:
Next, arrange your keyboard and mouse so your elbows rest comfortably at about 90 degrees. This angle minimizes strain on your forearms and shoulders because a neutral arm position promotes better ergonomics.
Important: Most people forget to leave enough room under the desk for their legs to stretch comfortably.
– Ensure there’s at least 24 inches of clearance from the front edge of the desk to your knees because limited space causes discomfort and restricts movement.
Additionally, avoid the “toe-crush zone” under the desk, which refers to the cramped area directly under the front edge where your toes might get pinched if you try to stretch or move your legs freely.
– Leave at least 4 to 6 inches of space between your toes and the underside of the desk to allow for comfortable leg movement.
Understanding ergonomic standards can help you tailor your workstation setup to meet safety guidelines and reduce risk of strain or injury. Small adjustments in these areas can make a significant difference in comfort and productivity.

There’s no one-size-fits-all when it comes to choosing the right desk height, but there are some universal truths to keep in mind. First, your elbows should rest at a 90-degree angle when typing, because this position reduces strain on your neck and shoulders and helps prevent discomfort during extended periods of work.
Next, your monitor should be at eye level, because looking slightly down is less fatiguing on the cervical spine than looking straight ahead or upward.
Here’s the thing: you need enough space to move comfortably.
Additionally, properly achieving perfect monitor height can significantly improve your comfort and health during long work sessions.
Measurement Tips:
Once these basics click, you’re closer to setting up a workspace that won’t make you regret sitting down in the first place.

Your workspace’s layout can make or break your comfort, and no, it’s not just about having enough desk space. You want your keyboard, mouse, and work tools within arm’s reach, but not too close. If you’re cramming everything in, your arms and shoulders might pay the price.
All right, place your essentials so your elbows form roughly a 90-degree angle when typing, because this position minimizes strain on your forearms and shoulders.
Verify your chair position supports good posture. Your hands should hover comfortably over your keyboard without feeling strained.
Adjust your seat height and the position of your work surface: set your chair height so your feet rest flat on the floor with knees at a 90-degree angle, and ensure your keyboard is just above your lap, with a slight downward tilt if possible.
Key measurement:
– Keep your monitor 20 to 30 inches from your face, with the top of the screen at or just below eye level, to reduce neck strain and promote a neutral head position.
Look, I know the manual says to space things perfectly in 20 minutes, but let’s be honest, it takes 45 minutes. The key? Keep your workspace flexible in case your chair height or desk layout changes so you can quickly adapt.
Make your workspace ergonomically friendly, not an ergonomic nightmare, by adjusting your setup as needed to maintain proper postural alignment and reduce fatigue. Additionally, paying attention to wrist positioning can help alleviate pressure on the median nerve and prevent carpal tunnel symptoms.
The one rule you absolutely need to follow when placing your monitor is that it should sit directly in front of you, not off to the side or floating somewhere in the domain of “close enough.” I know, it sounds obvious, but go ahead and check most people position their screens slightly skewed or too far back, and then wonder why their neck is sore by lunchtime.
Here’s the thing:
Common mistakes and how to avoid them:

Forget what you might assume about perfect keyboard and mouse placement, because before you do anything fancy, you need to confirm they’re in a spot that lets you type comfortably without turning into Quasimodo by lunchtime.
1. Keep your keyboard directly in front of you, because it should be easy to reach without twisting your body.
2. Position your keyboard as close as possible without causing your wrists to flex upward or downward, because maintaining a neutral wrist position reduces strain.
3. Ensure your elbows form approximately a 90-degree angle, because this position minimizes shoulder and forearm tension.
4. Place your mouse just to the side of your keyboard, at the same height as your keyboard, because this reduces reaching and minimizes wrist strain.
5. If your mouse is too high or low compared to your keyboard, your wrist will start auditioning for a gymnastics team, because uneven heights cause awkward wrist angles.
Measurement Tip:
– Position your mouse so that your forearm is parallel to the desk surface when using it, typically aligning with the same height as your keyboard.
6. Make sure your wrists stay straight while typing and using the mouse, because bent wrists increase the risk of tendinitis.
7. Take regular breaks to prevent discomfort, because prolonged static positioning can contribute to shoulder and neck strain.
Common Mistakes to Avoid:
When it comes to sitting comfortably and avoiding a backache by sundown, spending a few minutes adjusting your chair isn’t just a good idea; it’s essential. You want your feet flat on the floor, knees at a 90-degree angle, and your hips level with your knees. Honestly, it’s the best way to prevent slouching or straining.
Proper chair adjustments prevent slouching and back pain for comfortable, all-day support.
All right, first, adjust your seat height so your hips sit slightly above your knees because this position supports the natural curve of your spine and reduces pressure on your lower back.
Set the seat height so that your knees are at a 90-degree angle, with your feet flat on the floor about 2 inches away from the edge of the seat.
Check that your lumbar support hits your lower back at the natural inward curve this is a real pressure point that prevents slouching.
Adjust the lumbar support on your ergonomic chair, such as the Herman Miller Aeron or Steelcase Leap, to fit comfortably into the curve of your lower back.
Next, set the armrests so your shoulders relax and elbows stay close to your sides, with your forearms parallel to the ground for optimal comfort.
Lower the armrests if they cause your shoulders to elevate, or raise them so your forearms rest comfortably while typing or resting because proper armrest positioning reduces shoulder tension and strain.
Finally, position the monitor so the top of the screen is at or just below your eye level, about 20 to 30 inches from your face, to reduce neck strain.
Key measurement fact: Keep the top of your monitor at or just below eye level; the ideal distance from your face is approximately 20-30 inches.
Additionally, ensuring your chair has lumbar support that correctly fits your lower back enhances overall spinal health during long sitting periods.
Since good lighting can mean the difference between a pain-free work session and a constant eye strain headache, it’s worth paying attention to your setup.
You want bright, even light without harsh glare. This means avoiding direct overhead lighting that bounces off your screen or creates shadows. All right, get a desk lamp with adjustable brightness and position it to illuminate your workspace evenly, because proper positioning prevents shadows and glare that can cause eye strain.
Look for natural light if you can just don’t have the window directly behind or in front of you, because your screen will turn into a glare mess.
Important: the goal is to reduce eye strain, so sidestep the temptation to crank your brightness and contrast to maximum levels, because your eyes will thank you.
Key measurement:
– Keep your monitor 20 to 30 inches away from your face.
Steps:
Adding movement and taking regular breaks into your work routine isn’t just a good idea; it’s essential if you want to avoid turning into a stiff, sore robot. Trust me, I’ve been there, holding a chair in one hand and trying to understand why stretching feels so darn good.
Here’s the thing:
Specific Movement Tip:
– Raise your chair to a height where your feet are flat on the floor and your knees are at a 90-degree angle, because proper chair height supports ergonomic seating and reduces lower back strain.
Important Break Fact:
– The ideal interval for a break is every 30 to 60 minutes, because it prevents stiffness, reduces fatigue, and maintains productivity.
I promise, your body will thank you more than your inbox ever will.
Now that you’ve got your workspace set up, it’s time to tackle that mountain of cables and clutter that’s probably screaming for attention. Honestly, it’s the chaos behind your desk that’s more dangerous than a spilled coffee.
First, gather all cables, because seeing all of them in one place helps you understand what you have. You’ll realize you have twice as many as you thought.
Use cable clips or ties to keep them together, because this prevents frustrating tug-of-war moments. I recommend labeling them too because future you will thank you.
Here’s a quick cheatsheet:
| Cable Type | Labeling Method | Storage Tip |
|---|---|---|
| Power cords | Masking tape | Wrap loosely to avoid damage, because tight coils can damage the cable’s internal wiring. |
| HDMI/Display | Color tape | Use cable sleeves, because they prevent tangling and protect from wear. |
| USB peripherals | Sticky notes | Coil to avoid tangles, because loose cables are easier to manage and less prone to damage. |
There are at least three common ergonomic mistakes most people make on an L-shaped desk and trust me, I’ve been guilty of all of them.
First, elevating your monitor too high or too low. Raise the monitor until the top of the screen is at or just below your eye level because looking slightly down reduces neck strain. Your screen should be at eye level, not looking up or down like you’re squinting at a mystery.
Second, sitting too far back or forward. Sit so that your elbows rest at a 90-degree angle when typing because this position minimizes shoulder and wrist strain. Find the seating distance where your forearms are parallel to the floor with your wrists straight.
Third, ignoring your posture because you’re too busy juggling cables or clutter. Maintain proper support by using an adjustable ergonomic chair, such as the Herman Miller Aeron or Steelcase Leap, and keep your feet flat on the floor because this ensures spinal alignment and reduces lower back pain.
Key measurement:
– Sit so that your forearms are perpendicular to the floor when your hands rest on the keyboard, which typically occurs when your chair height is adjusted so that your elbows are at a 90-degree angle, and your feet are flat on the ground.
Regularly evaluating how your desk setup feels might seem like a hassle when you’re caught up in work or scrolling through endless productivity tips, but trust me, it’s worth doing. You might think, “It’s fine,” until your back screams or your eyes dry out then suddenly it’s obvious you’ve been ignoring the clues.
Take five minutes: sit at your desk, and pay attention to how your body feels. Are your shoulders relaxing? Is your monitor at eye level? If not, adjust.
Adjust the monitor height** until the top of the screen is at or just below your eye level, because looking slightly down reduces strain on your cervical spine. For example, position the monitor approximately 20 to 30 inches** from your face.
Test your setup for a few days. Remember, the goal isn’t perfection, just comfort.
Make small, consistent tweaks**** as needed because no setup is perfect straight out of the box even if the manual says it should take 20 minutes.
Common mistakes to avoid:
You want a sturdy, ergonomic desk, so opt for materials like solid wood or high-quality laminate they’re durable and stable.
Metal framing also helps balance weight and longevity.
Avoid cheap pressboard it warps and dents faster than you can say “assembly required.”
Now, your setup will last longer, and you’ll actually enjoy working there instead of worrying about wobbly edges or collapsed corners.
All right, that’s your win.
Choosing ergonomic accessories for your desk is like picking the right puzzle pieces; they click together easily if you know what to look for.
You want a monitor arm that fits your monitor weight and size, adjustable keyboard trays, and an ergonomic chair. Look for those with adjustable height and lumbar support.
All right, don’t forget to match your accessories to your workflow otherwise, you’ll spend more time fiddling than working.
Yes, an L-shaped desk can comfortably fit multiple users if you plan carefully. You’ll want enough space for each person to sit, stretch, and work without jabbing elbows or knocking over cups.
All right, divide the surface realistically don’t cram everyone in like sardines. Some L-shaped desks have separate sections, which helps.
Just remember, good ergonomics applies to all so give each person enough room to move naturally.
You want affordable ergonomic accessories? First, grab an adjustable monitor stand you’ll thank yourself when you’re not craning your neck.
Next, get a decent cushioned wrist pad comfort over time saves pain.
A simple keyboard tray can be found for cheap and improves posture.
Ultimately, consider a footrest; your legs will thank you after hours of sitting.
Yeah, it’s that easy trust me, I’ve been there, fixing the setup I thought was “good enough.”
You keep good posture by sitting back in your chair, feet flat on the floor, and knees at a 90-degree angle.
Keep your monitor at eye level no craning your neck using a monitor arm if needed.
All right, your keyboard and mouse should be within easy reach, so your shoulders stay relaxed.
And, honestly, take breaks stretch, walk around your back and neck will thank you.
Alright, so you’ve set up your L-shaped desk without knocking over the monitor or losing a screw congratulations. Remember, perfect ergonomics is a journey, not a sprint. You’ll tweak, shuffle, and maybe curse a bit, but hey, that’s part of the process. Keep evaluating your setup, stay active, and don’t let your cables turn into a spaghetti nightmare. Trust me, future you will thank present you for the effort.


