Physical Address
304 North Cardinal St.
Dorchester Center, MA 02124
Physical Address
304 North Cardinal St.
Dorchester Center, MA 02124

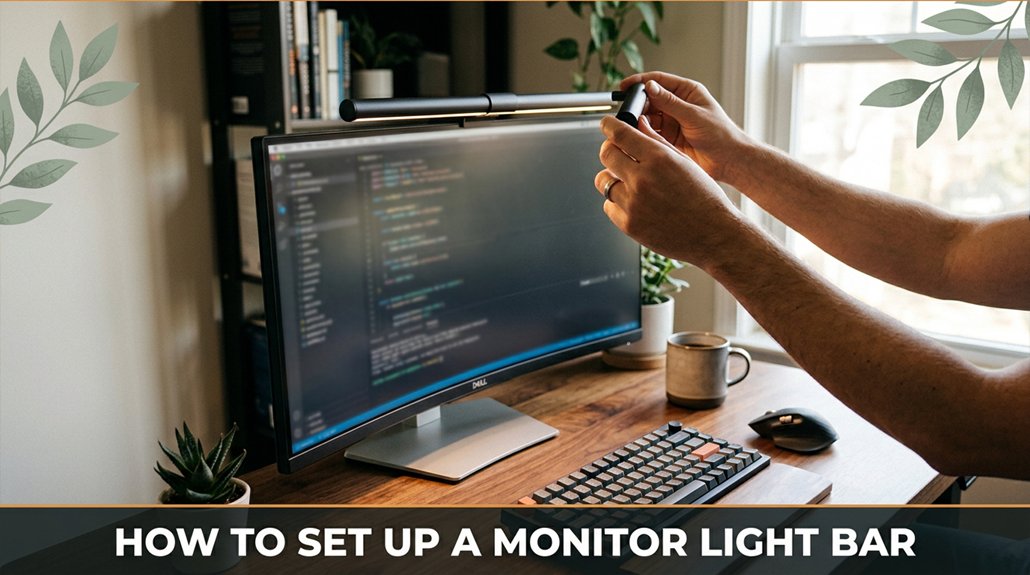
Your monitor lighting setup can be tricky nothing’s worse than flickering lights or gaps that distract you. First, measure your monitor width no one wants a light bar that hangs off the edges or leaves awkward spaces.
Next, choose a mounting style that fits your setup clamp or adhesive and attach it at the top or bottom of your screen. Make sure your cables are long enough with some slack; tight cords can ruin the smooth look you’re aiming for.
Connect the power, adjust the tilt to distribute light evenly, start with a low brightness, and then increase until glare stays minimal. If flickering or connection issues occur, check your cables and outlets. Keep these tips in mind, and you’ll avoid common setup mistakes most overlook.
This article contains affiliate links. If you purchase through them, I may earn a small commission at no extra cost to you. I only recommend products I genuinely believe in.
Proper monitor lighting is essential because it helps reduce eye strain and enhances comfort during long work sessions or gaming marathons. Setting up your monitor light bar correctly is crucial because improper placement can cause glare and reflections that worsen eye fatigue.
Position the monitor light bar behind or beside your monitor, not shining directly into your eyes, to prevent glare. Because direct light into your eyes causes discomfort and reduces screen visibility, aim for a position that illuminates the wall or area behind your monitor instead.
Ensure the light casts a gentle glow on the wall behind your screen, not on your face, creating a balanced lighting environment. Aim for the following:
It’s worth taking a few extra minutes to adjust the lighting precisely because proper monitor illumination significantly reduces eye strain and improves visual comfort.

Ever spent ages trying to find a light bar that actually fits your setup? Yeah, I’ve been there.
First, measure your monitor width don’t guess, or you’ll end up with a light bar that’s like fitting an oversized hat.
Because an ill-fitting light bar can cause uneven lighting and look awkward on your desk.
Second, check the mounting style clamp or adhesive whatever works best for your desk and monitor.
Because a clamp offers easy removal and adjustment, while adhesive provides a cleaner look with fewer parts.
Third, think about brightness and color temperature; your eyes will thank you for adjustable options.
Because customizable brightness reduces eye strain during extended use, and adjustable color temperature can improve visual comfort and color accuracy.
All right, don’t forget power sources USB is common, but make sure your port’s free.
Because a busy or limited USB port reduces flexibility; consider using a powered USB hub if needed.
The thing is, the perfect light bar depends on your desk shape, monitor size, and how much brightness you need.
I swear, a little planning saves hours of frustration later.
Additionally, considering the ergonomic benefits of different models can help you select a light that not only fits your setup but also promotes long-term eye health.

When it’s time to prep your workspace, the first thing you want to do is clear off everything from your desk yes, everything so you’re not trying to navigate around clutter when you’re holding a light bar or wrestling with cables. It sounds obvious, but halfway through, you’ll thank yourself.
Now, take a good look at your surface. Is it smooth and sturdy? Perfect. If you have a glass or overly slick surface, consider placing a small cloth or grip pads like rubber furniture pads to prevent slipping because a stable surface ensures your equipment stays securely in place during installation.
Ensure your surface is stable; add cloth or grip pads to prevent slipping during installation.
Next, identify where your power socket is because you need to test if your cable length makes sense. Measure the distance from the installation site to the nearest power outlet.
Highlight:
Use a cable length that allows for at least 6 inches of slack to prevent tension on the connections and reduce risk of disconnection or damage.
Because the last thing you want is a light bar dangling from a wall outlet when you could have just a few inches of slack, confirming your cable length before starting saves you time and effort.
Additionally, considering the cable management solutions like cable spine solutions or under-desk trays can help keep your workspace organized and clutter-free while ensuring your setup remains safe and efficient.
Step 1: Locate your power socket and test the current cable length because ensuring enough slack prevents strain on your cables and connectors.
Step 2: Arrange your cables so there’s approximately 6 inches of slack, allowing for easy adjustments and reducing wear over time.

Grab your light bar and find a comfortable spot on your desk where it’ll sit ideally the top or bottom edge of your monitor because this part can get awkward if you try to do it while juggling the light, cables, and trying not to knock over your coffee.
All right, here’s what you do:
Positioning your light just right can feel like maneuvering through a minefield, but here’s the secret: it’s all about minimizing glare and avoiding eye strain.
You want the light to brighten your workspace without blinding you or creating annoying reflections on your screen.
First, set the light slightly behind your monitor so it doesn’t shine directly into your eyes, because direct light can cause glare and eye discomfort.
Adjust the tilt of the light so it washes evenly across your desk, ensuring the illumination is uniform and reducing shadows.
If your light has brightness controls, start with the brightness set to a low level, then gradually increase until the room feels comfortably lit no blinding spots or harsh reflections.
A comfortable lighting level typically means the room brightness is about 300 to 500 lux, matching the ambient environment to reduce eye strain.
The exact position of the light depends on your setup, so don’t hesitate to tweak it.
Trust me, a little patience here beats squinting at your screen for hours.
Important Measurement Fact:
– Brightness level that reduces eye strain: approximately 300 to 500 lux.
Additionally, using the 20-20-20 rule can help prevent digital eye fatigue during long screen sessions.
Dealing with lighting setup problems is about as fun as untangling last year’s Christmas lights, but trust me, most issues have straightforward fixes once you know what to look for.
Here’s the thing: if your light flickers or won’t turn on at all, it might be a power issue or a loose connection.
You’re the detective here. Check all cables and connections thoroughly to identify any loose or damaged components.
Yes, you can use monitor light bars with curved monitors. All right, but the catch is, you’ll want to check the light bar’s mount.
Most attach via clamps, so a curved surface can be tricky sometimes you’ll need extra padding or a flexible clamp. The light bar itself usually works fine, but don’t assume it’ll fit like it does on flat screens.
Be prepared for some tweaking, and you’re good to go.
Yes, wireless monitor light bars do exist. You’ll find some that connect via Bluetooth or Wi-Fi, eliminating the cable clutter.
All right, but don’t expect them to be as responsive or reliable as wired options especially if your Wi-Fi dips out.
You synchronize multiple light bars by connecting them through their app or control system most use Bluetooth or Wi-Fi.
All right, don’t just plug in and hope for the best. You usually need to add each light bar in the app, then look for an “auto-sync” option or manually set them to match colors and brightness.
Honestly, it’s just a matter of patience and probably a few restarts and re-pairings, because tech loves a good tease.
Think of safety like avoiding a 90s dial-up noise necessary and worth it.
You should unplug everything before starting, obviously. Wear gloves if wiring gets hot, and double-check your power source matches the light bar’s requirements.
Secure all components tightly nothing worse than a light bar falling and smashing your monitor.
And if you’re using extension cords, make sure they’re rated for the load. Better safe than replacing your screen!
Yes, monitor light bars can affect glare and reflections, but it’s all about placement. You want to avoid shading your screen or shining directly into your eyes.
Usually, positioning the light bar underneath or on the sides helps reduce glare. Honestly, you’d think these little gadgets would be foolproof but no, most of us spend five minutes fussing with angles before getting it just right.
Alright, you’ve got your light bar installed and shining perfectly. Remember, it’s not just about brightening your workspace but making it work for you. Teaching your eyes to avoid strain is like tuning a good instrument once it’s right, everything sounds better. Don’t let small hiccups trip you up; check adjustments, keep things simple, and stay consistent. A well-lit desk isn’t magic it’s just good sense, and now you’ve got that covered.


