Physical Address
304 North Cardinal St.
Dorchester Center, MA 02124
Physical Address
304 North Cardinal St.
Dorchester Center, MA 02124

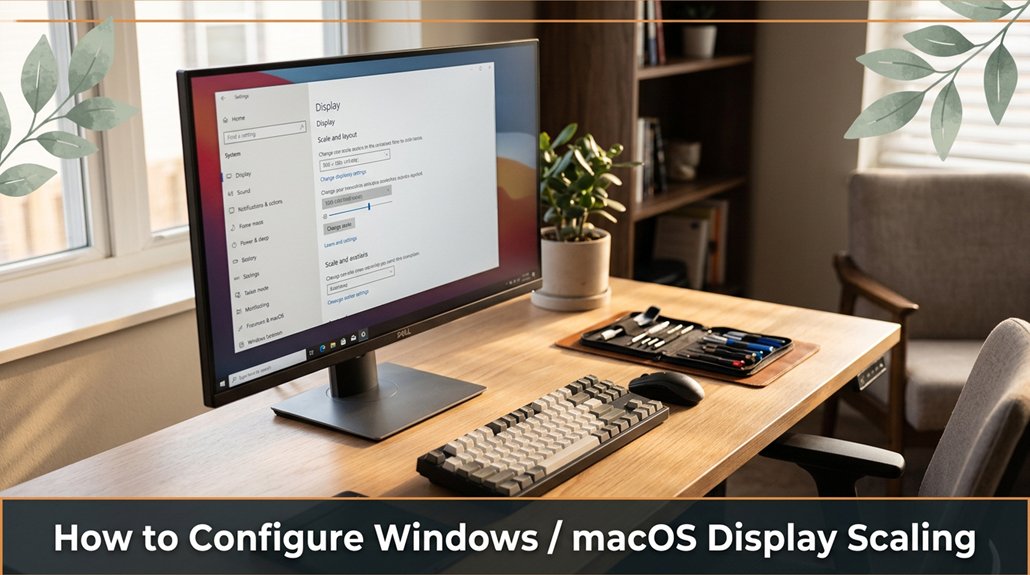
If you’ve ever struggled with tiny text or oversized icons on your screen, you’re not alone. Adjusting display scaling can make your workspace look just right, whether you’re working on a Windows PC or a Mac. On Windows, go to Start > Settings > System > Display, then find the Scale section, and pick a percentage that makes everything look sharp but not tiny or huge usually 125% or 150%. On macOS, click the Apple icon > System Preferences > Displays, then choose “Scaled” and cycle through options until it feels comfortable. The tricky part is finding that perfect balance, but once you do, your screen will feel much more natural to work with.
Have you ever noticed how sometimes your screen looks incredibly crisp and clear, while at other times it appears blurry or you find yourself squinting to read text? That variability is often due to display scaling settings in your operating system. When display scaling isn’t properly configured, text and icons can look pixelated, blurry, or disproportionately small, which can make your work more frustrating and reduce productivity.
Display scaling issues can cause blurriness and eye strain, affecting clarity and productivity.
You might increase the scaling percentage in an attempt to make everything easier to see say, setting it to 125% or 150% but doing so can sometimes compromise visual clarity. The key is finding a balanced scaling setting that enlarges interface elements for comfort without sacrificing sharpness.
Adjusting scaling impacts how Windows or macOS renders images, text, and icons on your screen. For example, on a 27-inch monitor with a resolution of 2560×1440 pixels, setting scaling to 100% will display text and icons in their native resolution sharp and clear while increasing it to 150% will make items larger but may introduce blurriness if your system doesn’t handle scaling well.
Getting the right display scaling setting ensures you enjoy both legible text and crisp visuals, helping reduce eye strain during long work sessions. Proper calibration of these settings is essential for an ergonomic and efficient home office setup, especially if you spend multiple hours in front of your screen daily.
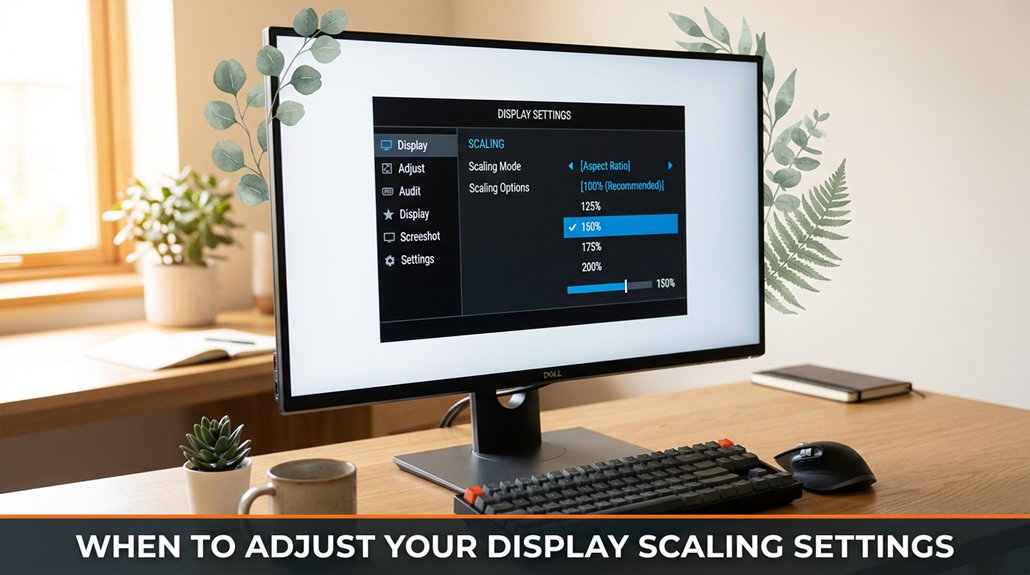
When should you really tweak your display scaling? Honestly, when you start squinting at your screen or dragging windows like they’re awkward puppies. If text appears tiny enough to strain your eyes or too large to read comfortably without effort, that’s a clear sign.
You might spend ages adjusting font sizes in different applications, but still find nothing quite right. That’s when display scaling becomes essential it helps you unify text size and interface elements across the system without individual app tweaks.
Additionally, if your display has an unusual resolution say, a 4K UHD monitor at 3840×2160 pixels that makes things look fuzzy or pixelated, a slight scaling adjustment can sharpen the image and improve readability. Proper scaling ensures content looks crisp and is easily legible, reducing eye fatigue over extended use.
While you might prefer everything to just work out of the box, sometimes your eyesight, font preferences, and monitor resolution conspire against default settings.
In those cases, stepping in with appropriate scaling settings is the practical solution to make your workspace more comfortable and productive.
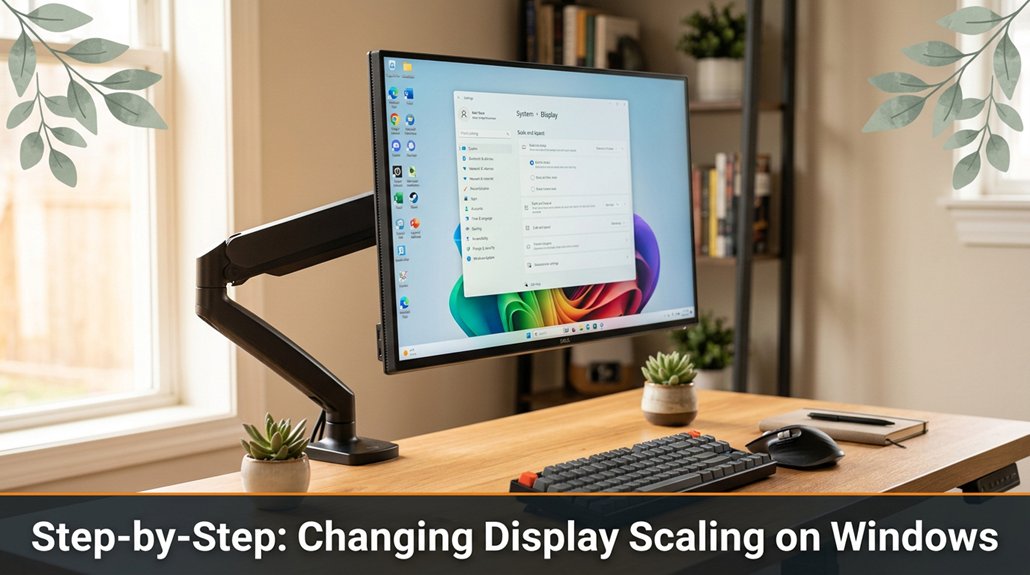
Adjusting your display scaling on Windows isn’t a complicated process, but it’s one of those tasks that can be confusing because the steps are spread across different settings menus.
First, click on the Start menu and open Settings note that you should avoid the older Control Panel, which is considered a legacy interface. Next, select System from the Settings options, then click on Display.
Within the Display settings, locate the section titled Scale and Layout. Here, you’ll find either a dropdown menu or a horizontal slider. Adjust this control to your preferred scaling percentage, such as 125% or 150%.
Increasing the scale enlarges text, icons, and interface elements, making them easier to read on high-resolution displays like 4K monitors or ultra-wide screens.
It is important to recognize that after changing the scaling setting, you’ll typically need to sign out and sign back into your Windows account for all interface adjustments to take effect properly. Some applications may temporarily appear blurred or misaligned until the system applies the new scaling factor.
Remember, finding the optimal display scaling setting might require some trial and error experiment with different percentages, such as 125%, 150%, or 175%, to discover what best suits your visual comfort and workflow.
Properly adjusting display scaling enhances readability and reduces eye strain, especially during prolonged use of devices like laptops with small screens, desktop monitors with high pixel densities, or multi-monitor setups with various resolution settings.
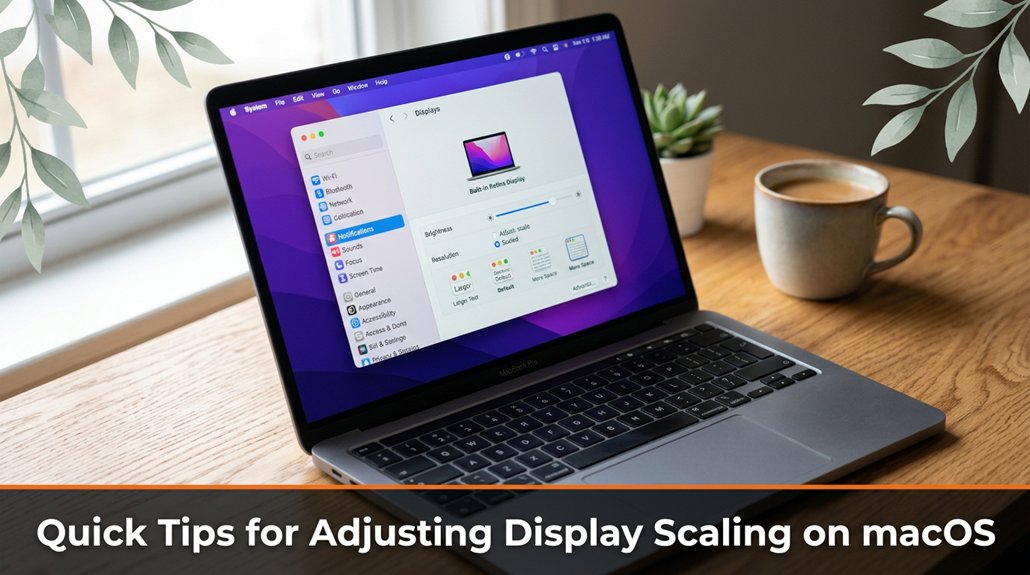
If you’re adjusting display scaling on macOS, you’ll notice that it’s generally simpler at least on paper than doing so on Windows. First, click the Apple icon located in the top-left corner of your screen and navigate to System Preferences. Then, select Displays from the options menu.
Here’s the key step: in the Display tab, you’ll see options for resolution and scaling. Click on “Scaled” to access different size presets for text and interface elements. You can then choose a larger or smaller text size depending on your preference.
macOS offers a limited number of preset scaling options, typically three to four, designed to streamline the adjustment process without overwhelming you with choices. While these presets mightn’t provide pixel-perfect precision, they’re sufficient to find a comfortable viewing experience.
You’ll save time by trying out different scaling options instead of obsessing over technical details like pixel density.
Keep clicking through the available presets until your eyes feel relaxed and your screen content remains clear and legible. Remember, the goal is to find a setting that reduces eye strain and improves readability for the tasks you perform most often.
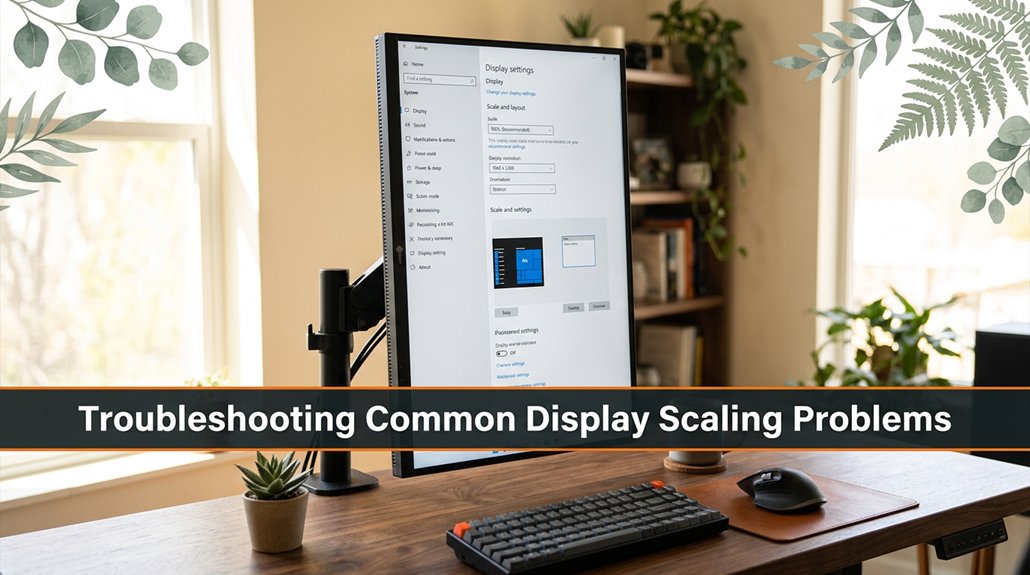
Dealing with display scaling issues can feel like chasing a moving target, especially when everything on your screen suddenly looks pixelated or blurry. I’m sure you’ve been 45 minutes into troubleshooting when you realize step 4 assumed something that step 2 never told you.
First, check your display resolution sometimes it resets after operating system updates or driver adjustments. For example, on Windows, verify that your resolution matches the native resolution of your monitor, such as 1920×1080 pixels for a standard 24-inch LCD or 2560×1440 pixels for a 27-inch Quad HD display.
Ensure your display resolution matches your monitor’s native resolution for sharp, clear visuals.
On macOS, go to System Preferences > Displays and confirm the resolution setting. Correct resolution ensures sharp and clear visuals, preventing fonts and images from appearing fuzzy.
If fonts look fuzzy or blurry, try adjusting the ClearType settings on Windows or the Font Smoothing options on macOS. On Windows, access ClearType Text Tuner by searching for “Adjust ClearType text” in the Start menu, and follow the calibration prompts to enhance font readability.
On macOS, navigate to System Preferences > General and enable or adjust Font Smoothing to improve text clarity. These adjustments can significantly reduce eye strain by making text appear crisp and easily readable.
Now, if an application appears tiny, oversized, or improperly scaled, right-click the application’s icon and select “Get Info” (on macOS) or “Properties” (on Windows). Here, you can manually set the application’s scaling percentage or configure its DPI settings.
For instance, setting a specific app to 125% scaling on Windows helps ensure consistent size and sharpness, especially for legacy programs not optimized for high-DPI displays. Addressing individual app scaling quirks prevents interface elements from becoming too small or too large, which can hinder productivity or cause discomfort during prolonged use.
Most display scaling problems originate from mismatched settings between multiple monitors or after operating system updates. For example, if you’re using a multi-monitor setup with one 24-inch Full HD (1920×1080 pixels) monitor and another 27-inch Quad HD (2560×1440 pixels), mismatched scaling can cause windows to appear inconsistent in size.
The same applies after installing major OS updates that reset or modify display settings.
The key to resolving these issues is to keep your graphics drivers updated, restart your computer after making configuration changes, and avoid manually tweaking settings without understanding their impact.
Modern graphics drivers from AMD, NVIDIA, or Intel include scaling and resolution options optimized for a variety of display types. Regularly check for driver updates from your GPU manufacturer’s website or through your system’s device manager to ensure compatibility with the latest Windows Updates or macOS patches.
Finally, stay patient when things look wonky these problems usually resolve themselves after a system reboot or driver update. Accurate scaling ensures that text and graphics appear sharp, improves overall usability, and reduces eye fatigue during long work sessions.
The first step is to find that ideal scaling setting where everything on your screen appears sharp and clear without causing eye strain or discomfort. Start by adjusting the display scaling value until text and icons are distinguishable and crisp, but not so large that they dominate your workspace.
For example, setting the scaling to 150% might seem convenient initially, but it can complicate window management and reduce workspace efficiency.
If elements appear blurry or pixelated, reduce the scaling slightly to improve clarity. Conversely, if items look too small to read comfortably, increase the scaling in small, incremental steps such as adjusting from 125% to 140% until everything is comfortably visible.
It’s essential to remember that all screens differ whether you’re working on a 24-inch 1080p monitor, a 27-inch 4K display, or a laptop with a high-DPI screen; your setup, eyesight, and workflow influence the optimal setting.
Avoid settling for the first scaling setting that looks acceptable. Because your eyes adapt and fatigue differently depending on how content appears, take the time to toggle between various options.
Look away for a moment, then compare different scales to identify the most balanced setting that offers sharpness without oversize icons. Finding this “calm, balanced spot” will help reduce eye strain and improve overall productivity, making your digital workspace more comfortable for long periods of use.
Display scaling settings can be a bit stubborn at times, especially when everything suddenly looks weird or blurry after a quick tweak. I get it you’ve fiddled with settings, and now things look off.
First, go to your system settings. On Windows, open the Display settings. Then click on “Scale and Layout” and choose “Reset to recommended settings.” This resets the display scaling to the factory default, which is typically 100% or “Recommended,” ensuring that elements on your screen are sharp and appropriately sized.
Open Display settings, click “Scale and Layout,” and select “Reset to recommended settings” for sharp, properly sized elements.
On macOS, head to Display in System Preferences and select “Default for display.” This setting restores your display’s resolution to the native resolution specified by the manufacturer, which is crucial for clear, crisp visuals and accurate scaling of interface elements.
Sometimes, your operating system mightn’t apply the changes immediately after adjusting these settings. If that happens, restart your computer to force the system to reinitialize the display driver and apply the new configuration. This step often resolves lingering display issues like blurriness or distortion caused by incomplete scaling adjustments.
Every computer setup varies with different hardware configurations, graphics card models, and display types such as LCD, LED, OLED, or Retina screens. Therefore, while resetting to default settings is your best initial approach, it mightn’t fix every visual problem.
Consistency in display scaling is vital because incorrect settings can affect readability, cause eye strain, and reduce overall visual clarity.
Alright, so you’ve adjusted your display scaling, and your screen finally looks right no more squinting or tiny icons. Think of it like tuning a guitar; it might feel fiddly at first, but once it’s in perfect pitch, everything sounds better. Your eyes won’t thank you in the long run if you ignore this. Remember, a well-scaled display is just like a good conversation smooth, clear, and easy to follow.