Physical Address
304 North Cardinal St.
Dorchester Center, MA 02124
Physical Address
304 North Cardinal St.
Dorchester Center, MA 02124

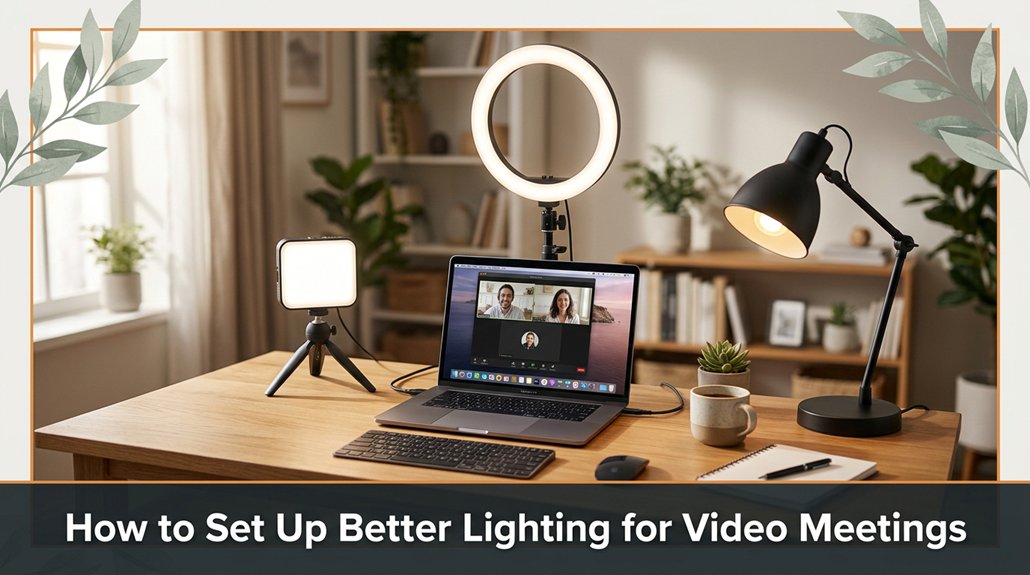
If your video meetings leave you looking dull or shadowed, it’s time to get your lighting right. You want your face to look clear and natural, not washed out or hidden in darkness. Set up a light source in front of you, not behind, and position it about 2-3 feet away at a 45-degree angle, slightly above eye level your chin will thank you.
Use soft, diffused light homemade options like a lampshade or reflector work great and avoid glare or harsh shadows. Adjust brightness and color to match your environment, but remember, natural light can be unpredictable. Follow these tips and say goodbye to looking like a ghost your face deserves to shine. Want to take it even further? There’s more to explore.
Good lighting can make or break your video calls. Poor lighting usually makes you look like a mysterious creature lurking in the shadows, which can reduce your professionalism and hinder communication. That’s why your video meeting lighting setup is essential; it ensures you’re seen clearly and accurately, rather than left guessing what you look like.
When your room is dim, your face turns into a silhouette, making it seem as if your webcam’s only job is to hide you. Bad lighting also affects the background appearance making it look distorted or unwelcoming, similar to broadcasting from a dungeon. Bright enough lighting is crucial, but it shouldn’t cause glare that strains your eyes or creates unwanted reflections.
The ideal setup provides even, natural-looking light that hits your face without casting harsh shadows or creating uneven illumination. This allows your facial expressions to come through clearly and helps maintain viewer engagement.
Without proper lighting, you might find yourself fiddling with digital filters or struggling to keep focus during the call. Remember, investing in good lighting enhances your image quality, improves your perceived professionalism, and makes your video calls more effective and comfortable.
How Your Positioning Affects Your Lighting and Appearance
Where you position yourself in relation to your light source makes a significant difference in how you look on camera or in photographs. You want to be in front of the light, not behind it. If your face is facing away from a window or lamp or if the light source is behind you, you’ll appear shadowed, making your face look dark and unflattering.
Instead, turn your face toward the light source. For example, if you’re using a desk lamp, place it at or slightly above eye level using a lamp with an adjustable arm or a flexible gooseneck is ideal. Positioning the lamp at this height helps illuminate your face evenly.
Turn your face toward the light, placing your lamp slightly above eye level for even, flattering illumination.
To avoid harsh shadows that can accentuate wrinkles or imperfections, soften the light. Use a lampshade made of opaque or semi-opaque fabric, or bounce the light off a white wall or ceiling. This creates a diffuse, even glow that minimizes unflattering shadows and highlights your features naturally.
The goal is to achieve even, flattering illumination that makes you look refreshed and alert as if you’ve had a good night’s sleep. Proper lighting not only improves your appearance, but also enhances your professionalism and confidence during virtual meetings or recordings.
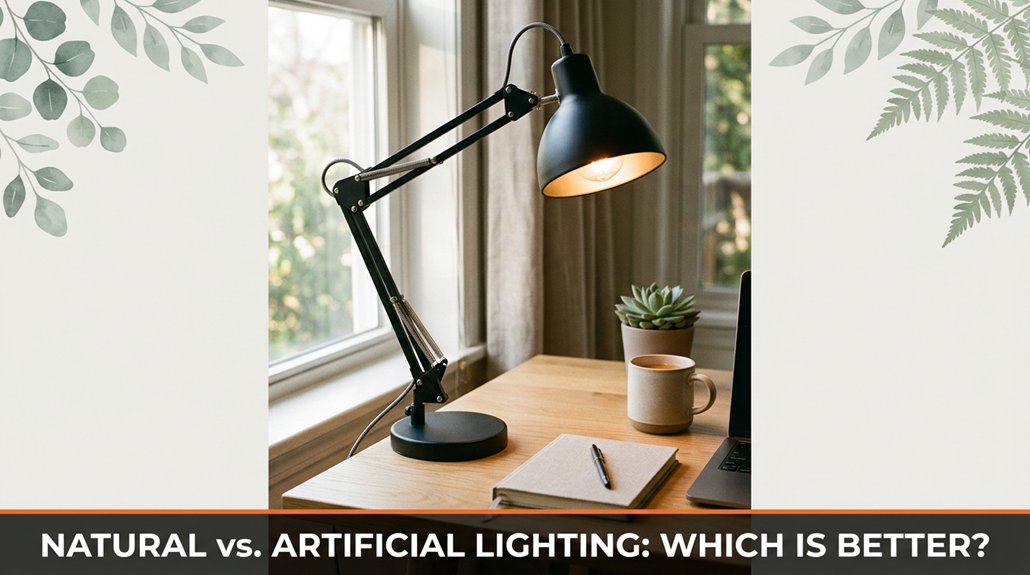
Have you ever sat in front of a window, only to look like a shadowy figure on your next Zoom call? That’s because natural light, while free and pleasant, isn’t always reliable. Sunlight shifts throughout the day, clouds can roll in unexpectedly, or your windows may face the wrong direction, such as north-facing windows that receive limited direct sunlight.
All right, so natural light’s great when it’s good. But when it’s bad, it’s really bad. That’s where artificial lighting becomes essential literally, because it offers consistency, control, and the ability to create suitable lighting conditions regardless of the weather or time of day.
Artificial lights like LED desk lamps with adjustable brightness levels ranging from 200 to 1,000 lumens and color temperature settings between 2700K (warm yellow) and 6500K (cool daylight) can dramatically improve your visibility and reduce eye strain.
Artificial lighting is also helpful for maintaining a professional appearance during video calls, especially when natural light is insufficient or uneven. It provides reliable illumination, so you won’t appear as a shadowy figure or washed-out broadcast. Proper placement of your light sources matters position your desk lamp to the side of your monitor, not directly behind it, and aim it to evenly light your face without causing glare or reflections on your screen.
Now, I’m not suggesting you eliminate natural light entirely. Instead, be aware of its quirks and limitations. If you want clarity without surprises, invest in adjustable, high-quality artificial lighting. Additionally, understanding the lighting quality and how it impacts video clarity can make a significant difference in your overall professional presentation.
Combining natural daylight with controllable artificial sources allows you to optimize your workspace for any time or weather condition. This balanced approach helps ensure your video calls look professional and that your workspace remains comfortable and well-lit at all times.
Here’s the revised version of your text with the long paragraphs split:
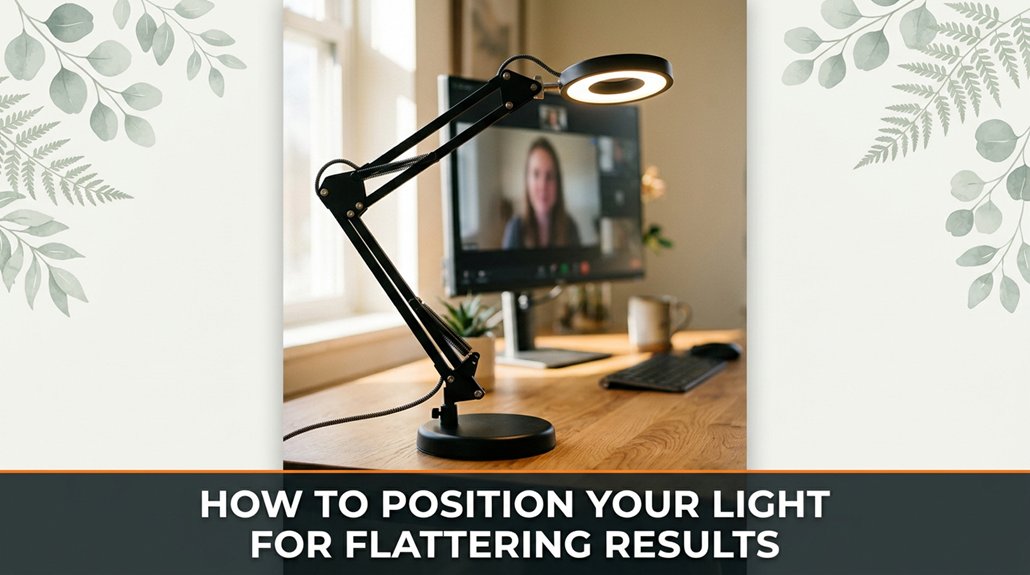
A quick heads-up: how you position your lighting can significantly influence your video quality, and success often depends on subtle adjustments rather than brute force. You want your light to hit your face at about a 45-degree angle from above, which helps illuminate your features evenly and reduces unflattering shadows. Avoid shining the light directly into your eyes, as this can cause glare and discomfort, or casting harsh shadows that distract viewers.
Position your light at 45 degrees above to illuminate your face evenly and reduce unflattering shadows.
Think of lighting like sculpting small tweaks in placement or intensity can make a noticeable difference in how polished and professional you appear on camera. To achieve this, keep the light slightly frontal, aimed at your face to eliminate under-chin shadows, but avoid positioning it so close that it highlights excessive forehead shininess.
For example, set your key light approximately 2 to 3 feet in front of you and elevate it to about 45 degrees to mimic natural sunlight and create a flattering, natural glow.
The goal is to produce soft, even lighting that highlights your best features without creating a spotlight effect. This involves understanding how light interacts with your face to present your features in the most flattering way.
Properly positioned lighting enhances depth, making your video appear more dynamic and engaging, rather than flat and washed out.
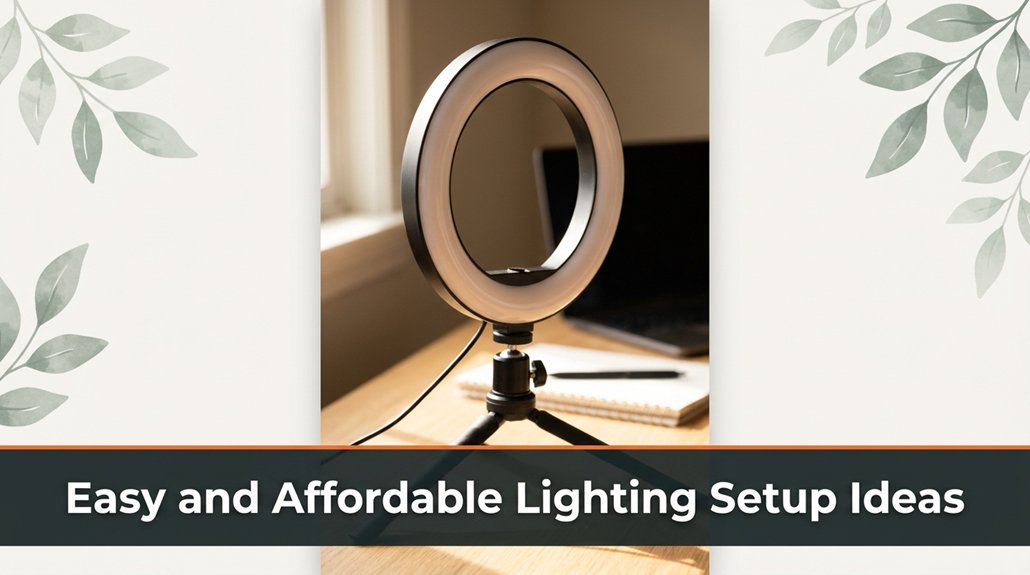
You don’t need to spend a fortune to improve your lighting for video calls. Here are proven methods to enhance your setup using inexpensive or readily available tools:
Remember, simplicity is key. Start with a basic setup, test your lighting by recording a quick test video, and make small adjustments such as repositioning lamps or reflectors.
These small tweaks can significantly improve your video quality without requiring expensive equipment. Implementing these straightforward lighting strategies will give your video calls a more professional appearance, all while keeping costs low.
Getting your brightness and color settings right is essential because it ensures your face stands out clearly rather than blending into the background. This is not just about turning up your lamp or hoping your camera’s auto-adjust feature will do the job. You should start by using your camera’s manual settings whenever they are available.
First, adjust the exposure: lower it if your face appears overly bright or washed out, and increase it if your face looks too dark or difficult to distinguish. Proper exposure ensures your skin tone and facial features are well-defined and natural-looking. Next, tweak the white balance setting. Choosing warmer tones around 3,500K to 4,000K can make your skin look cozy and inviting. Conversely, cooler tones around 5,500K to 6,500K tend to produce a more professional appearance with a crisp, neutral look.
Here’s a practical guide for optimal settings:
| Brightness | White Balance | Ideal Scene Description |
|---|---|---|
| Too high | Too warm | Creates a blinding, washed-out appearance |
| Too low | Too cool | Results in a dark video where facial features are unrecognizable |
| Just right | Adjust to taste | Produces a natural, clear image with well-defined facial features |
Shadows and glare can turn your professional video calls into a game of hide and seek, but nobody’s winning you’re the one hiding behind uneven lighting.
Here’s the thing: darkness and reflections make you appear unprofessional and distract your viewers. To address this, follow these specific lighting strategies.
First, position your light source slightly above eye level about 4 to 6 inches and directly in front of you, like shining a spotlight on your face. This setup ensures your face is evenly illuminated without harsh shadows.
Second, aim for soft, diffused light. Use affordable solutions like a fabric lampshade, a white nylon shower curtain, or a DIY diffuser made from parchment paper taped over an adjustable LED desk lamp. For example, a 10-15 watt LED bulb with a color temperature around 3000K delivers warm, even illumination that reduces shadows and glare.
Third, eliminate strong backlighting behind you. If there are windows or light sources behind your workspace, use blackout curtains or reposition your desk to prevent sunlight or bright lamps from causing excessive contrast. This prevents your face from appearing dark or silhouetted.
Fourth, check your monitor and nearby reflective surfaces such as glass desks, picture frames, or glossy paintings for glare. Adjust monitor brightness and angle, and consider matte screen protectors or positioning your monitor perpendicular to windows. Additionally, be mindful of bright screens or reflective objects that can redirect light toward your face, causing distracting reflections.
Remember, setting up optimal lighting involves careful arrangement of your workspace and equipment. Properly balanced lighting not only enhances your appearance on camera but also reduces eye strain and improves overall video quality.
In addition, properly monitor positioning and ergonomic adjustments can help you stay comfortable and focused during long video calls.
With these specific adjustments, you’ll create a professional, evenly-lit environment for all your virtual meetings.
Sometimes, despite your best efforts, your lighting still acts up flickering, uneven exposures, or harsh glares. I understand; I’ve been there as well. First, check your power source because flickering often indicates loose cords or cheap outlets. Next, examine your bulbs or LEDs; some flicker at certain refresh rates, such as 60Hz or 120Hz. Replace or upgrade your bulbs with high-quality LEDs or incandescent bulbs that match your fixture’s specifications if necessary.
If your light’s too harsh, diffuse it with a lampshade made of translucent fabric or soften the light using a white bedsheet draped over the fixture. Proper diffusion reduces glare and creates a more even, comfortable illumination. The key to balancing your setup is to position a brighter light source behind you, such as a 60-watt equivalent LED standing lamp, and softer light in front of you, perhaps from a desk lamp with adjustable brightness settings.
Here’s a quick reference guide to common lighting problems and their solutions:
| Problem | Fix |
|---|---|
| Flickering or dim light | Replace bulbs with high-quality LEDs, check all electrical connections, and ensure your outlets are functioning properly. |
| Unwanted shadows | Use diffusers such as softbox attachments for your LED panels or bounce light off reflective surfaces like white poster boards or foam boards for even light spread. |
| Glare from screens | Adjust the angle of your monitor and nearby lights; soften glare using screen filters or matte screen protectors. |
| Uneven exposure | Light both sides of your workspace evenly by positioning lights at similar heights and brightness levels; use dimmers or adjustable fixtures to equalize brightness. |
Alright, so you’ve got your lighting squared away smooth sailing, right? Well, think of it like steering a ship. A little adjustment here, a tweak there, and suddenly your video calls aren’t a stormy mess but a calm sea. Just remember: no matter how good your gear is, if the light’s off, your face still looks like it’s hiding from the insurance guy. Keep it bright, keep it simple, and you’ll never have to apologize for the glow again.