Physical Address
304 North Cardinal St.
Dorchester Center, MA 02124
Physical Address
304 North Cardinal St.
Dorchester Center, MA 02124

Setting up a home office without drilling holes can seem impossible, especially if you’re worried about damaging your walls or risking your lease. But don’t worry it’s totally doable with a few clever tricks. You’ll want to use damage free adhesive strips or hooks for hanging decor and lightweight shelves yes, those Command strips actually support pictures up to five pounds if you install them right.
Measure carefully before sticking, press firmly, and test periodically to keep your workspace looking sharp without risking wall damage. All right, if you stick to these tips, you’ll build a stylish office and skip the landlord drama stay tuned for more.
This article contains affiliate links. If you purchase through them, I may earn a small commission at no extra cost to you. I only recommend products I genuinely believe in.
Alright, let’s talk damage-free wall solutions. You’re probably tired of the idea of punching holes that leave a permanent scar, especially since you’re renting.
For your renter-friendly home office, skip the nails and hooks. Instead, try adhesive strips or hooks designed for damage-free hanging because they prevent wall damage.
That’s how I set up my monitor and bookshelf without causing trouble. Believe it or not, they actually hold up pretty well, even in high-traffic spots. Look for command strips or reusable hooks, which are usually strong enough for lightweight decor.
Here’s the first step: measure your wall space first because this ensures your pictures stay level.
The second step: stick the adhesive or hooks on the wall.
Third, because damage-free hooks and strips are designed to be removable without leaving residue or holes, press firmly to activate the adhesive.
Fourth, position your decor on the hooks or strips. Also, consider using damage-free wall anchors for added stability with heavier items.
Here is a useful fact:
Use command strips or reusable hooks that support up to 5 pounds for lightweight decor.
Finally, check the stability by lightly tugging on your wall decor after hanging because this ensures it’s securely attached and reduces the risk of falling.

When you’re planning your renter-friendly office layout, the first thing you need to understand is that space isn’t just about what’s there; it’s about how you make it work for you without turning your walls into Swiss cheese.
Here’s the thing:
Here’s the thing: a flexible plan is key because no layout survives the first move perfectly.
Key measurement fact:
– Position your desk so that there’s at least 24 inches of clearance in front for comfortable movement.
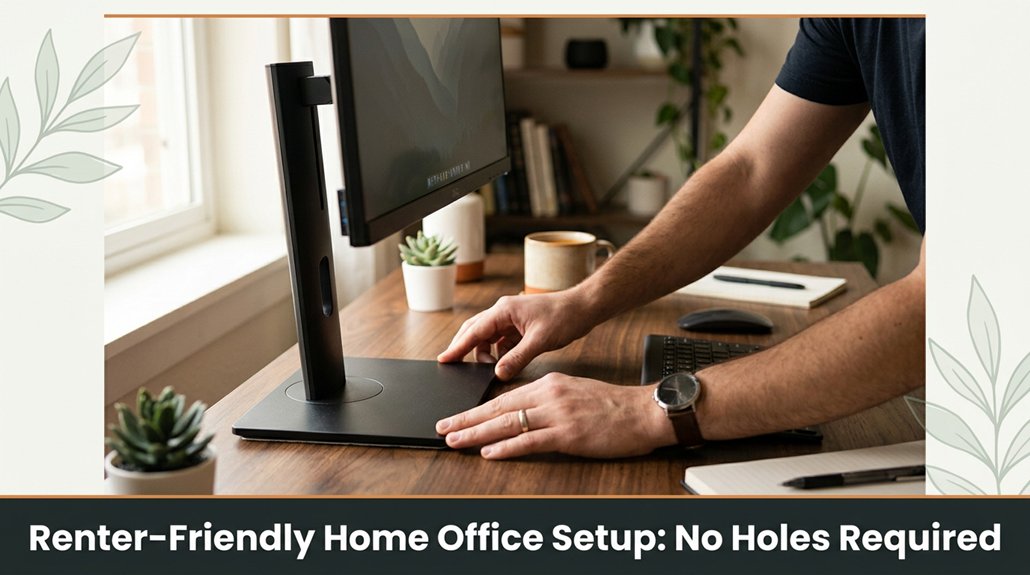
Additionally, incorporating wall-mounted desks can provide a sturdy workspace without requiring wall anchors or drilling, making it ideal for renters.
All right, now you’ve got a layout plan. Just make sure it’s flexible enough to adapt because, trust me, no plan survives the first move perfectly.

If you’ve ever tried to set up a home office and ended up with a giant scratch on the wall or a crooked shelf, you’re not alone. I’ve been there: holding a monitor arm, trying to tighten a clamp, only to realize I forgot to measure the distance. Here’s the thing: you want style and damage-free setup.
Use command hooks or adhesive-backed shelves no drilling needed. Stick to lightweight decor like fabric bulletin boards or peel-and-stick wallpaper. To keep your desk tidy, try cable clips or adhesive cord organizers.
| Item | Placement tip | Damage-free alternative |
|---|---|---|
| Wall shelves | Measure carefully, level before sticking because uneven placement causes a crooked appearance | Command strips with weight limits, because they distribute weight evenly and prevent wall damage |
| Desk organizers | Use non-slip mats or adhesive pads because they prevent sliding and scratches | Rubberized or silicone bases, because they provide grip and protect surfaces |
| Decorative accents | Avoid heavy items; opt for lightweight decorations because heavy items increase risk of wall damage or tipping | Foam-backed decor, because it minimizes pressure on walls and surfaces |
| Power strips & cords | Mount with Velcro or cable clips because they organize cables and prevent tripping hazards | Adhesive cable management strips, because they keep cords out of the way without drilling |
Important measurement tip:
Position wall-mounted items so that their center is at approximately 57–60 inches from the floor, because this height is generally eye level for most adults and ensures easy access. Additionally, understanding proper mounting techniques helps prevent common mistakes and wall damage.
Common mistakes with specific fixes:
This approach ensures your workspace remains damage-free while remaining stylish and practical.

A cluttered desk is a magnet for chaos and your sanity. You need smart storage to keep that mess in check without tearing holes in the walls. Here’s how:
*Specific measurement:*
The tension rod should be adjusted to fit snugly within the width of your desk’s underside, typically between 1 to 2 inches narrower than the distance between the side panels, to ensure a secure hold without causing damage.
Common mistakes:
Since you want your home office to look professional without risking a drilled hole or sticky residue, non-permanent decor is your best friend. All right, start with adhesive hooks or command strips because they hold up pictures, calendars, or fancy artwork without ripping paint. Just make sure your wall isn’t textured; otherwise, the adhesive might give up mid-battle.
Hang a nice print or motivational quote your workspace deserves that pep. Now, if you want a touch of personality, try removable wallpaper or peel-and-stick decals because they add style without causing damage.
Look, I know it’s tempting to nail a gallery wall or put up shelves been there but patience and the right adhesive tools are your friends here. Additionally, choosing plants suited for non-permanent placement can significantly enhance your space without the need for drilling, as many air-purifying options can be exhibited on shelves or desks with adhesive hooks.
Maintaining a polished, damage-free home office comes down to a few straightforward habits, and a little foresight most people overlook.
Here’s the thing: organization, careful cable management, and cautious cleaning prevent unwanted surprises.
Organizing, managing cables, and cleaning regularly keep your home office neat and damage-free.
All right, your setup will stay sleek and damage-free if you stick to these habits because maintaining proper organization, management, and cleaning preserves the integrity of your equipment and furniture.
Remember:
You want to avoid wall damage? Use removable adhesive strips or hooks they hold well but come off clean.
All right, pick strips suited for your weight and wall type. Stick ’em carefully, press firmly, and give it a minute.
Now, hang your items. If you change your mind later, gently peel the strips no holes, no drama. Trust me, I’ve seen enough pulled paint and wall anchors to swear by these.
You want portable, foldable furniture that saves space and keeps your sanity intact?
All right, look for a sleek, lightweight desk that folds flat think fold-down wall desks or portable lap desks even though you’ll probably still be trying to fold it without knocking over your coffee.
Now, a foldable chair with storage or a compact sofa bed often becomes your new best friend.
Trust me, your tiny space will thank you.
You should get a cable management box or adhesive clips.
All right, first, gather your cables and run them along your desk edges. Next, stick clips underneath your desk or behind your monitor no drilling required.
Now, gather loose wires into a tidy bundle and no, don’t forget to leave slack so your devices aren’t yanking on ports. Trust me, you’ll thank yourself when wrestling less with tangled cords.
Absolutely, you can soundproof your space without drilling holes.
Use adhesive-based panels or freestanding room dividers with acoustic properties. You’ll want to stick to removable adhesives no one wants walls peeling or paint damage.
All right, measure first that’s vital because every setup is different and what sticks on your wall mightn’t on mine. Trust me, these options work, and you don’t have to deal with landlord nightmares over holes.
You can create a professional look without wall space by using freestanding rooms or panels.
All right, start with adjustable bookshelves or fabric-covered partitions moisture to knock down noise and look sleek.
Go vertical with heavy-duty corner desks, and add stylish desk accessories or plants.
Trust me, combining these tricks with some good lighting makes your workspace look intentional, not cobbled together from leftover pieces.
All right, so your home office looks sharp, no holes, and you didn’t need superhero skills to get there. I know, it’s the exact opposite of what the manual said “20 minutes” turned into three hours and somehow you still avoided paint touch-ups. The trick? Smart, damage-free solutions and a pinch of patience. Now, keep this setup tidy, move pieces around when needed, and remember you’re living proof that a renter-friendly workspace isn’t just a dream, it’s a legit setup.


