Physical Address
304 North Cardinal St.
Dorchester Center, MA 02124
Physical Address
304 North Cardinal St.
Dorchester Center, MA 02124

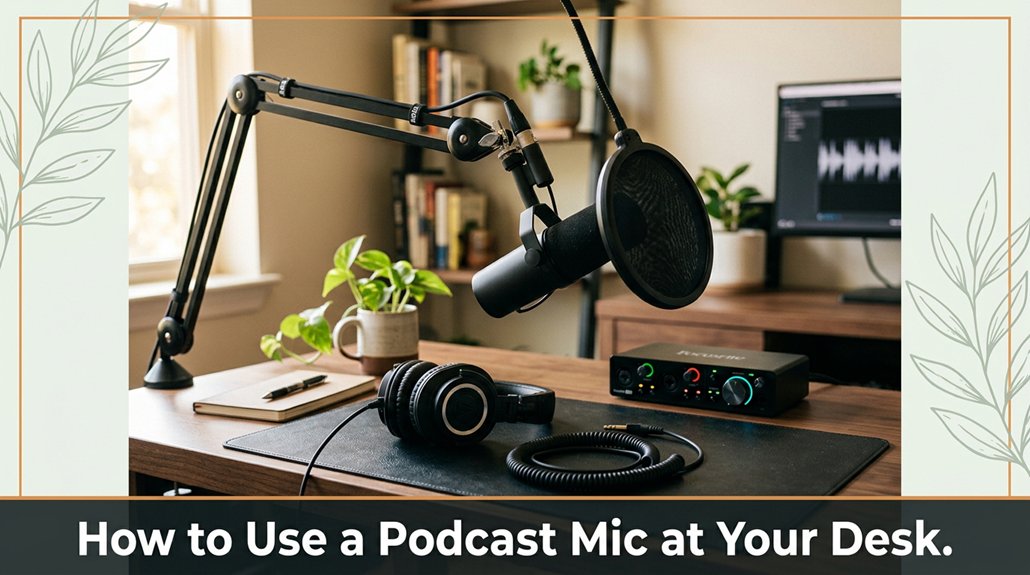
If you’re trying to record clear, professional-sounding podcast audio from your desk, getting your mic placement right makes all the difference. Position your microphone about 1 to 2 inches from your mouth no shouting needed, just close enough for crisp sound without distortion.
Keep it level with your lips and tilt it slightly toward you that small tweak really helps improve audio quality. Make sure it’s steady on a flexible arm or stand so it doesn’t wiggle during your recording, and check your gain settings too high, and your sound gets distorted; too low, and you’re whispering.
Follow these tips, and you’ll avoid rookie mistakes all that’s left is for you to keep practicing and soon you’ll sound like a pro.
All right, let’s get honest: choosing the right podcast microphone for your desk is almost always less straightforward than the manufacturers imply. You’ll want to focus on your podcast microphone desk setup consider how much space you have and what kind of sound capture you need.
Wider cardioid microphones are ideal if you want to minimize picking up unwanted noises such as keyboard clicks or stray room sounds. These microphones are designed to focus on sound directly in front of them, reducing background noise and providing clearer audio for your recordings.
Don’t forget, the size and weight of your microphone matter. A hefty, professional-grade condenser microphone like the Audio-Technica AT2035 or the Rode NT1 may look impressive and deliver high-quality sound, but it can also put stress on your monitor arm.
If your arm isn’t rated for the weight, the microphone could fall or strain the mount, risking damage to your equipment or desk.
Avoid the trap of assuming one microphone fits all use cases. Measurements such as the microphone’s form factor, diameter, and weight are crucial when selecting a model compatible with your desk setup.
For example, a compact USB microphone like the Blue Yeti is easy to position and mount, but a larger condenser microphone requires a sturdy boom arm and proper shock mounts.
Remember, practicality is key: select a microphone that fits the available space and meets your sound quality needs.
Measuring the weight of your preferred mic and verifying the clamp or boom arm specifications will help prevent compatibility issues.
When setting up, ensure your microphone is positioned at the optimal distance about 6 to 12 inches from your mouth using a shock mount and pop filter to further improve sound quality.
Choose wisely and prioritize compatibility to create a reliable and high-quality podcasting setup that fits your space, budget, and audio goals.
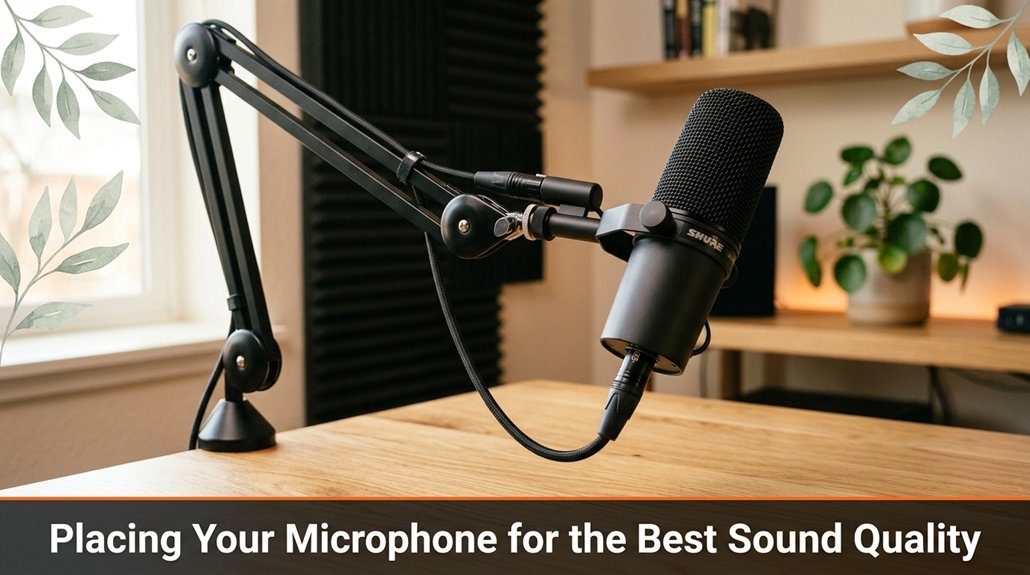
Once you’ve selected your microphone and determined its placement on your desk, the next crucial step is positioning it precisely to achieve optimal sound quality. Bring the microphone closer to your face, maintaining a distance of about one to two inches this proximity typically yields the clearest capture of your voice. If the microphone is placed too far away, your voice may sound distant or faint; if placed too close, you risk capturing unwanted plosive sounds, such as “p” and “b” sounds, which can cause audio peaking.
Position the microphone so that it’s level with your mouth. This alignment helps ensure consistent vocal clarity and minimizes the need for excessive post-production editing. Many guides emphasize this level placement because it directly influences the balance and fullness of your vocal recording.
To further improve voice capture, tilt or angle the microphone slightly toward your mouth this adjustment helps direct the audio pickup directly at your voice, reducing background noise and room echo.
The exact placement and angle will depend on your specific setup, including desk space, microphone type (such as cardioid condenser or dynamic microphones), and your recording environment. Adjust the positioning so that your voice remains front and center in the recording, capturing your tone accurately without distortion.
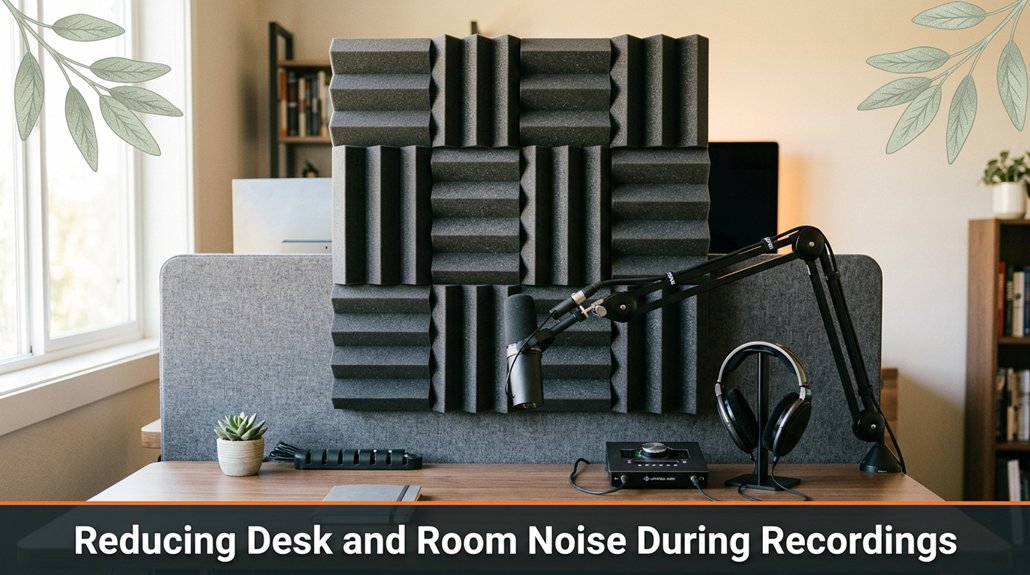
Because your desk is essentially a magnet for every creak, chair squeak, and stray keyboard click, reducing desk and room noise isn’t just about being polite it’s about ensuring your voice remains clear and centered in recordings. First, invest in a high-quality desk mat made of dense foam or rubber, ideally at least 3/8 inch thick, or place a thick area rug such as a shag or Persian rug to absorb vibrations and footsteps that travel through the floor. These materials significantly dampen low-frequency sounds caused by movement.
Next, seal gaps around your workspace with weatherstripping or foam adhesive strips especially around windows, doors, and any electrical outlets to prevent distant sounds from seeping into your recordings.
Using a directional microphone, such as a cardioid or hypercardioid condenser mic, acts like a bouncer for background noise by focusing on your voice while rejecting side and rear sounds. Position the microphone close to your mouth about 6 to 12 inches to maximize clarity and minimize pickup of ambient noise.
Try setting up a makeshift sound shield or enclosure around your recording area blankets draped behind or around your microphone, or DIY sound booths built with foam panels or egg crate foam since these materials absorb echo and reduce reflected sound waves.
Additionally, turn off or unplug fans, air conditioning units, and any electronics emitting engine or motor noises during recording sessions, as these sounds can be picked up and ruin your takes.
Implementing these steps requires a bit of effort but offers a noticeable improvement in audio quality.
Reducing ambient noise ensures your voice remains front and center, providing listeners with a clear and professional sound.
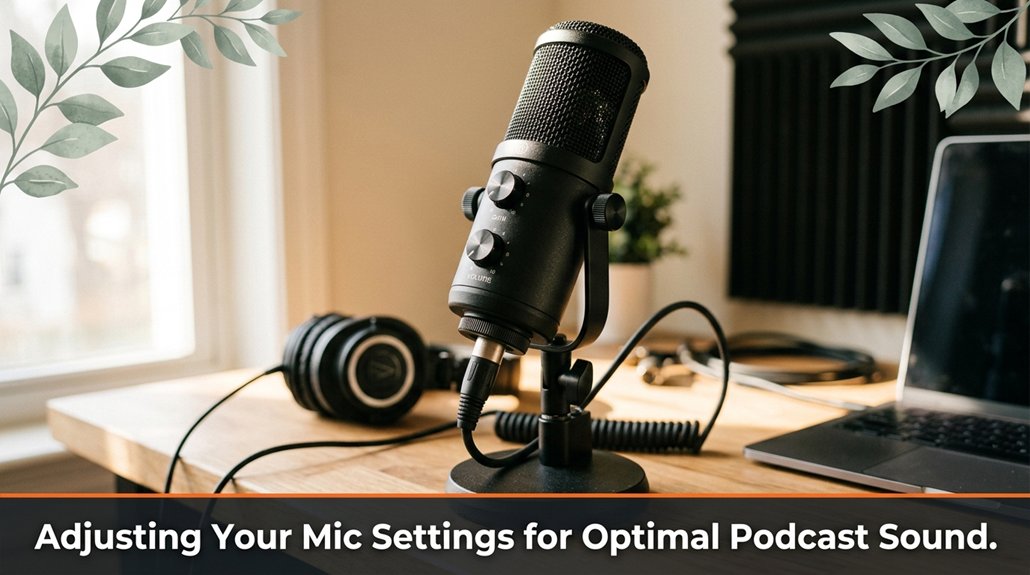
There’s a good chance that if you’re trying to get your podcast sound just right, you’re messing with your mic settings more than you’d like. First, check your microphone’s gain setting. Setting it too high will cause distortion, which makes your audio unpleasant to listen to and reduces clarity. Conversely, setting it too low makes your voice sound flat and quiet, reducing overall intelligibility. Adjust the gain until your loudest words reach just below the peak of the meter, ideally staying within the orange zone of your audio interface’s level indicator. This ensures your recording captures a full, dynamic range without distortion.
Now, focus on the polar pattern of your microphone. For desk setups or home studios, a cardioid polar pattern is typically best because it captures sound mainly from directly in front of the mic while attenuating noise from behind. This helps to minimize background noise such as keyboard typing, room echoes, or external sounds, resulting in a cleaner, more professional-sounding podcast.
Finally, tweak the monitoring and mute levels of your audio interface or microphone settings. Proper monitoring allows you to hear your voice clearly in real-time, so you don’t have to shout or guess your volume levels. Set monitoring levels to a comfortable volume that allows you to hear yourself accurately without causing feedback or ear fatigue. Adjust mute controls or headphone mixes so you can focus on your voice without distractions or the need to raise your voice unnecessarily.
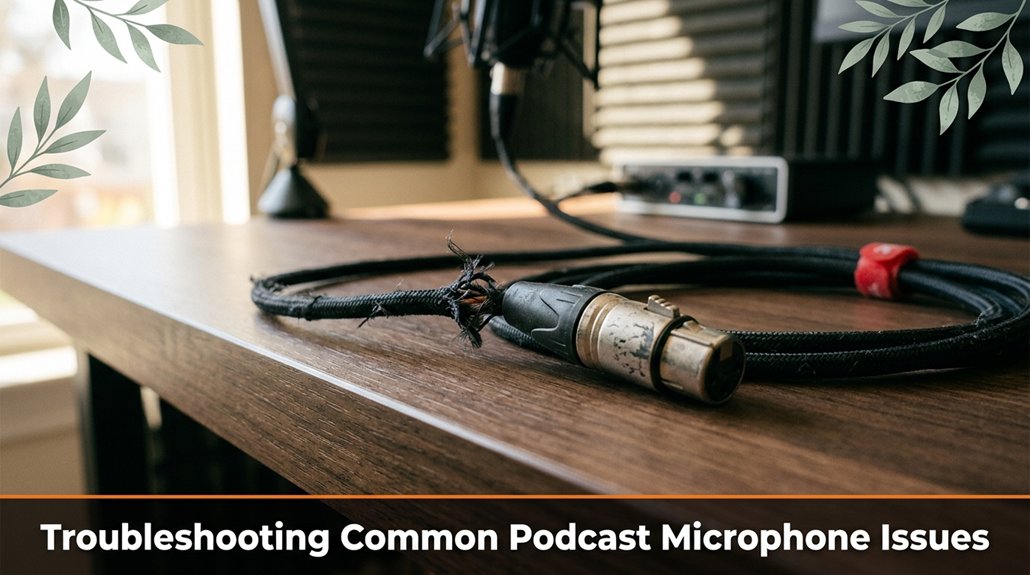
Sometimes, your podcast microphone just refuses to cooperate, and troubleshooting can feel like trying to herd cats. First, check your cables; issues with connectors can be sneaky and loose, even if you swear you pushed them in all the way. If using a USB microphone, ensure the cable is securely connected to both the microphone and your computer’s USB port. For XLR mics, verify that the cable is firmly plugged into the microphone and audio interface or mixer.
Next, verify your device settings; your computer may default to a different audio input device or lower the microphone volume without your notice. In your operating system’s sound settings, confirm that the correct microphone appears as the default input device. For Windows, go to Sound Settings > Input and select your microphone; on Mac, navigate to System Preferences > Sound > Input and choose the appropriate device.
Additionally, check the input volume or gain slider and adjust it to an optimal level generally between 60% and 80% of maximum gain to prevent low audio levels or distortion.
Examine your microphone’s built-in mute button and gain control such controls are often forgotten but frequently cause static, crackling, or complete silence when accidentally toggled or set too low. Make sure the mute function is off and the gain knob is set appropriately settings that are too low can result in weak audio signals, while overly high gain can introduce background noise.
If you’re still experiencing issues, try connecting your microphone to another USB port or even plugging it into a different computer. This step can help determine if the problem lies with the port or your computer’s hardware. For example, some USB ports may have insufficient power or faulty connections, which can affect microphone operation.
Finally, updating your microphone drivers, USB drivers, or firmware if your microphone manufacturer provides firmware updates can resolve compatibility bugs or bugs that cause audio dropouts or poor quality. Visit the manufacturer’s website for the latest driver downloads and follow their instructions for updating firmware if applicable.
Troubleshooting audio issues may feel tedious, but following these precise steps often leads to clearer, more professional-sounding podcast recordings rest assured, each small fix improves your sound.
Look, setting up your podcast mic isn’t rocket science, but it’s one of those things where it’s mostly about avoiding the little mistakes like assuming your desk’s just a flat surface or that “plug and play” means flawless sound. You’ll get there, step by step, tweaking and troubleshooting as you go. And honestly? Once you nail it, it’s more about relaxing and talking than fiddling with settings. Trust me, you’ll sound like a pro even if your setup isn’t perfect just like I did at that barbecue.